What is CSS?
CSS stands for Cascading Style Sheets. It's basically used to create good-looking websites by describing how the HTML elements are displayed on the screen. It also controls the layout of the website.
Syntax?
<element style="property:value;">
In the above, an element can be a heading, paragraph or even the entire body. Property is the CSS properties like font-style, font-size, background-color etc. Value is the CSS values like 50px, 50%, blue, red, center, left, right etc.
Types of CSS?
There are basically 3 types:
- Inline CSS
- Internal CSS
- External CSS
Let's get to know each one of them now.
1. Inline CSS
It's applying the style to a single HTML element at a time. We obtain this by applying the unique style directly into the start tag using CSS rules. The style attribute is used here.
<body>
        <p style = "font-size:50px; color:red; text-align:center;">
            Styling done using Inline CSS
        </p>
    </body>
2. Internal CSS
Internal style sheet is written in the head section of the HTML document. We include the css properties in between the < style > < /style >tags. Multiple elements can be styled at once using this. But it can't be used outside the document. It's limited only till the particular document its written in.
<head>
        <style>
            body {
                text-align:center;
                /*This aligns the entire content in the body section to the center*/
            }
            .ele {
                color: blue;
                font-size: 30px;
                font-family: Comic Sans;
            }
            #sub_text {
                font-size: 30px;
                font-family: Verdana;
            }
        </style>
    </head>
    <body>
            <div class ="ele">
              These statement is styled using an internal style sheet.
            </div>
            <div id="sub_text">
               The styling attributes of the class ele is called.
            </div>
    </body>
3. External CSS
A .css file is created and is linked to the HTML documents which uses its styling rules. It can be used by multiple web-pages at the same time. The change made in the stylesheet applies changes to all the web-pages it's linked to. This increases re-usability and decreases the code sizes, resulting in faster loading time.
style.css
body {
           text-align:center;
          /*This aligns the entire content in the body section to the center*/
         }
.ele {
                color: blue;
                font-size: 50px;
                font-family: Comic Sans;
            }
#sub_text {
                font-size: 30px;
                font-family: Verdana;
            }
sample.html
<html>
    <head>
        <link rel="stylesheet" href="style.css"/>
    </head>
    <body>
            <div class ="ele">
              These statements is styled using an external style sheet.
              <div>
               <div id="sub_text">
               The styling rules with the id sub_text is called.
            </div>
    </body>
</html>
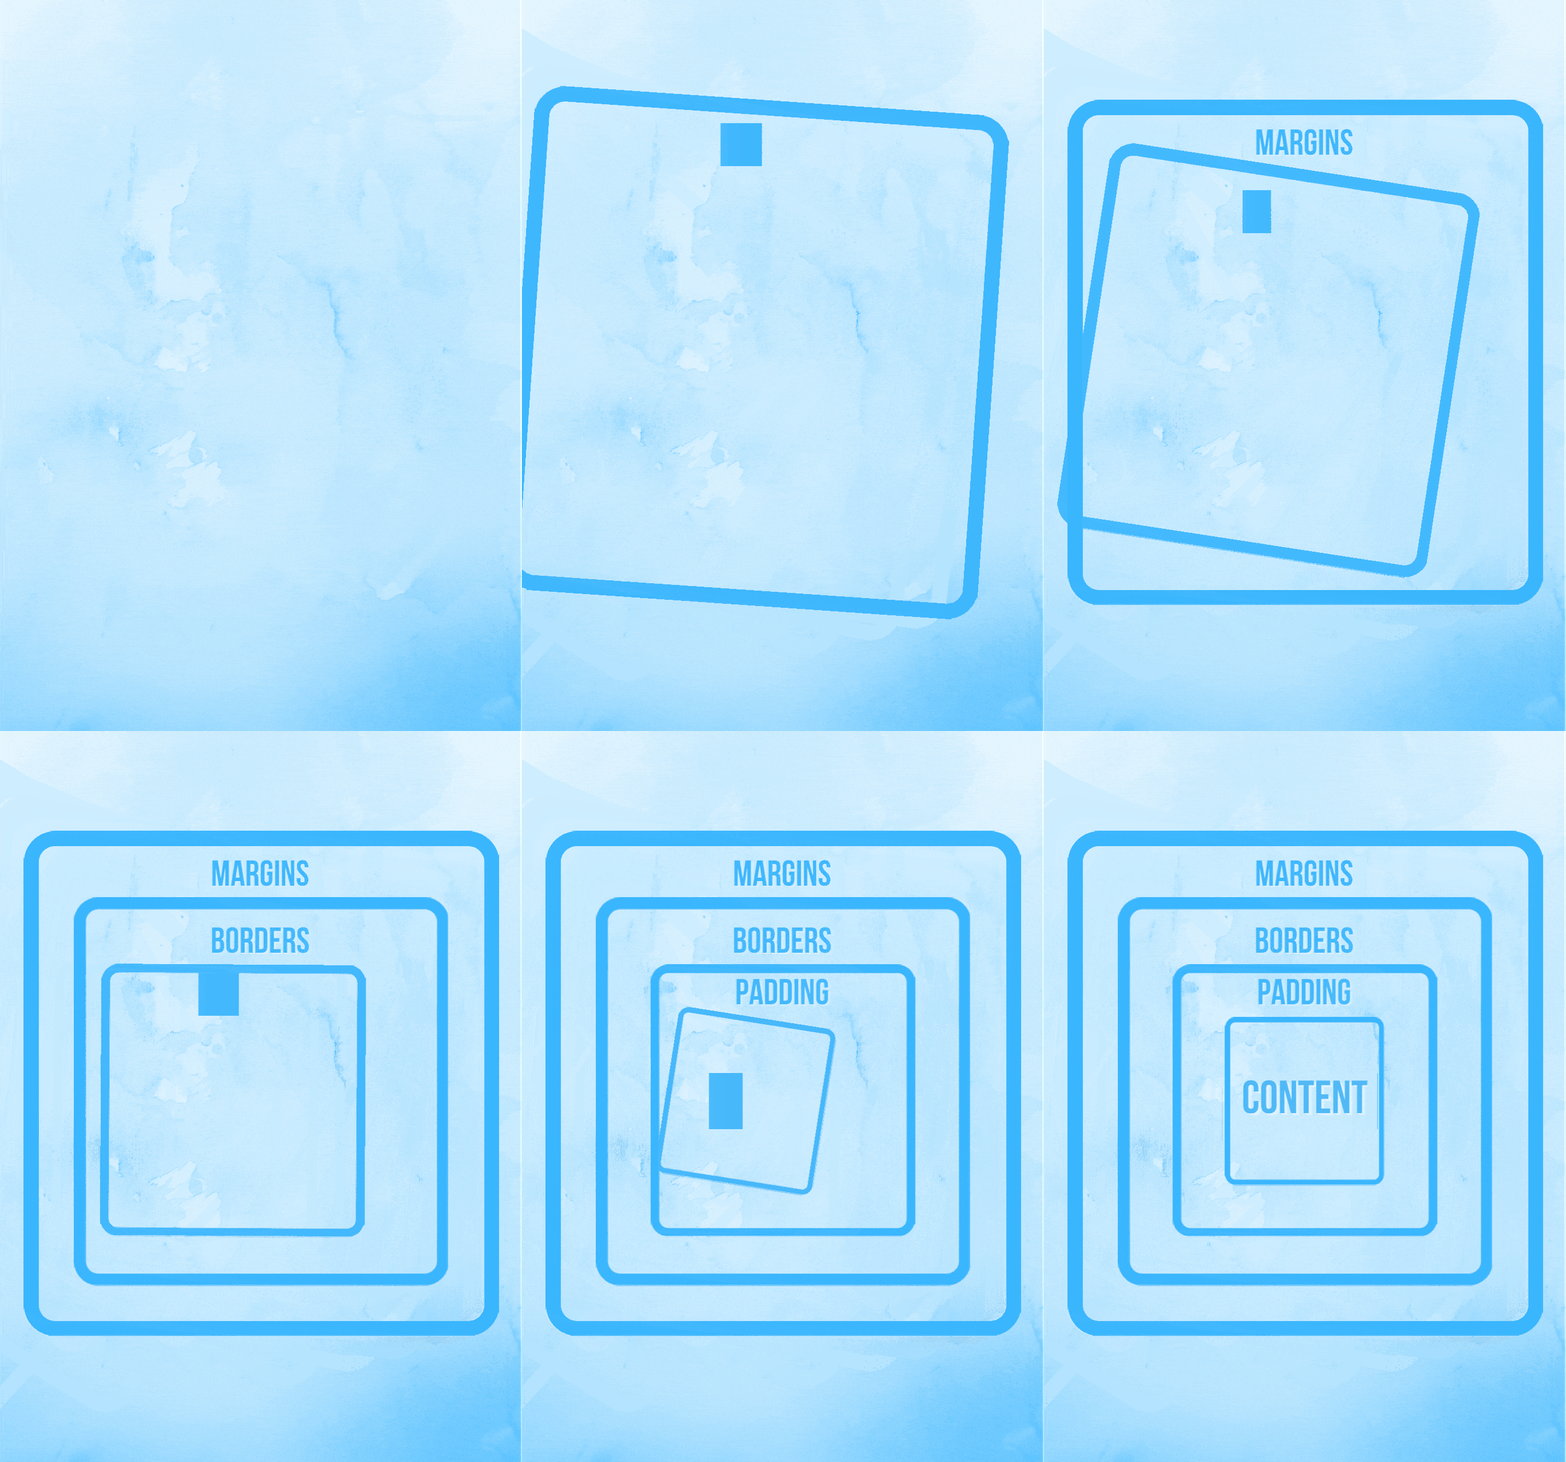
Box Model- The Structure of CSS

Different styling attributes?
- Comments
/*Comments in CSS is written using this. */
- Selectors
Basically, the element selector will select the HTML elements having the same element name.
a) id Selector
<head>
<style>
#ele {
  color: blue;
  font-weight: bold;
}
</style>
</head>
<body>
   <p id="ele">The id selector uses the attributes of the id of an HTML element to select a specific element.
We write a # followed by the id of the element to select the element with that id from the styling rules.</p>
   <p>The styling doesn't affect this, as the specific if isn't mentioned.</p>
</body>
</html>
b) Class Selector
<head>
<style>
.ele {
  background-color: blue;
  color: green;
  text-align: center;
}
</style>
</head>
<body>
      <h1 class="ele">We write a . followed by the class name of the element to select the element with that class from the styling rules</h1>
      <p class="ele">The class selector uses the attributes of class of an HTML element to select specific elements.</p>
</body>
<style>
.ele {
  background-color: blue;
  color: green;
  text-align: center;
}
.item{
  font-size:50px;
}
</style>
</head>
<body>
      <h1 class="ele item">Here, the styling from 2 classes is taken by h1 element.</h1>
</body>
c) Universal Selector
<head>
<style>
* {
  color: red;
  background-color: yellow;
  text-align: center;
}
</style>
</head>
<body>
  <h1>Universal Selector</h1>
  <p>The style rules are applied to all the HTML elements.</p>
  <span id="ele">Denoted using * </span>
</body>
d) Grouping Selector
<head>
<style>
h1, h2, h3 {
  color: yellow;
  font-family: Comic Sans;
  text-align: center;
}
</style>
</head>
<body>
 <h1>Grouping Selector</h1>
 <h2>All the headings h1, h2 and h3 have sollow same CSS styles.</h2>
 <h3>It's separated using comma (,) .</h3>
</body>
- Padding
Inside the defined borders, the spacing between the HTML elements are given using the padding property.
div { /* Padding from each side is defined */
  padding-top: 30px;
  padding-right: 40px;
  padding-bottom: 30px;
  padding-left: 40px;
}
div { /* Shorthand method to define padding */
  padding: 30px 40px 30px 40px;
}
div { /* Here, first value defines the padding-top, second value defines the padding left and right, third value defines the padding-bottom */
  padding: 30px 40px 30px;
}
div { /* Here, first value defines padding-top and bottom, second value defines the padding-right and left*/
  padding: 30px 40px;
}
div { /* Padding is same for all 4 sides */
  padding: 50px;
}
- Height and Width
div {
  background-color: green;
  font-color: red;
  max-width: 600px;
  width: 800px;
/* When both width and max-width is mentioned, and if value of width is greater than max-width, max-width is considered and width is ignored */
  height: 300px; /* Height of he division is 330px */
}
- Borders It's the property used to style the border width, color, thickness etc.
div {
  border: 5px solid blue;
/* First value defines the thickness of the border; second value shows the style solid; third shows the color
  border-radius: 3px;
}
There are different border styles: solid, dashed, dotted, groove, doubled, ridge, inset, outset, mixed, hidden, none.
- Margins
div { /* These are the different margin values in the order of: top, right, bottom and left respectively. */
  margin: 50px 20px 55px 20px;
}
div {
  margin: 50px; /* same margin on all 4 sides */
}
div { /* Auto will automatically horizontally center the elements within the container. */
  width: 500px; /* Specified with will be considered and the remaining space will be equally divided by right and left margins. */
  margin: auto;
}
- Text
div{
 color: green;
 background-color: blue;
 text-align: center;
 text-shadow: 2px 2px 5px yellow; //Horizontal shadow, vertical shadow blur-effect, color.
text-decoration: underline; //Can be none.
text-transform: uppercase;
text-indent: 30px; // Indentation of first line of text.
letter-spacing: 3px; //Specifies space between characters. Can be negative.
line-height: 1.2; //Spaces between the lines.
word-spacing: 10px; //Specifies space between the words.
}
- Gradient Backgrounds
// by default, linear-gradient starts at the top and transitions to the next color.
 background-image: linear-gradient(lavender, violet);
// linear gradient transitions towards a particular direction.
 background-image: linear-gradient(to left, lavender , violet);
// linear gradient transitions towards a particular corner.
 background-image: linear-gradient(to top right, lavender, violet);
// linear gradient transitions w.r.t certain angle.
 background-image: linear-gradient(60deg, lavender, violet);
// multi-colour linear gradient.
 background-image: linear-gradient(blue, red, lavender);
// radial gradient transitions with respect to the center.
 background-image: radial-gradient(blue, red, lavender);
// radial gradient transitions as per the defined spacing between them.
 background-image: radial-gradient(blue 5%, red 15%, lavender 60%);
- Links
a:link { // When the link is not visited.
  color: blue;
}
a:hover { // When hovered over the link.
  color: green;
}
a:active { // When the link is clicked on.
  background-color: yellow;
}
a:visited { // After the link is visited.
  color: red;
}
- Position
This property specifies the position of the element.
position: static; // by default, positions according to normal flow of page.
position: relative; // positioned relative to the normal position.
position: absolute; // positioned relative to the nearest parent ancestor.
position: sticky; // positioning based on users scrolling.
position: fixed; // position is fixed at one place.
- CSS !important
<html>
<head>
<style>
.ele {
  color: red;
}
p {
  color: green !important;
}
</style>
</head>
<body>
<p class="ele">The font color of this text is the color which was marked important.</p>
</body>
</html>
- Border radius
// Top-left corner, Top-right corner, Bottom-right corner, Bottom-left corner.
 border-radius: 30px 50px 40px 20px;
// Same radius for all the 4 corners.
border-radius: 50px
- Animation

Yet, CSS consists of many different properties and attributes, which I will cover in my next blog where I will explain simple projects made using CSS.
Wrapping Up
Hope this article gave you some basic knowledge on CSS and it's working. Feel free to put up any questions if you have/had. I will try my best to answer them.
Also, you can leave you suggestions in the comment section and give a reaction if you enjoyed reading it 💖
Feel free to connect with me on LinkedIn | Twitter
If you like my work, you can extend your support by buying me a ☕. Thank you!


